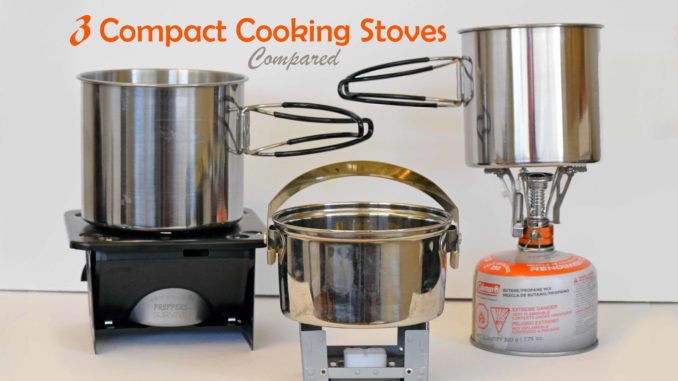
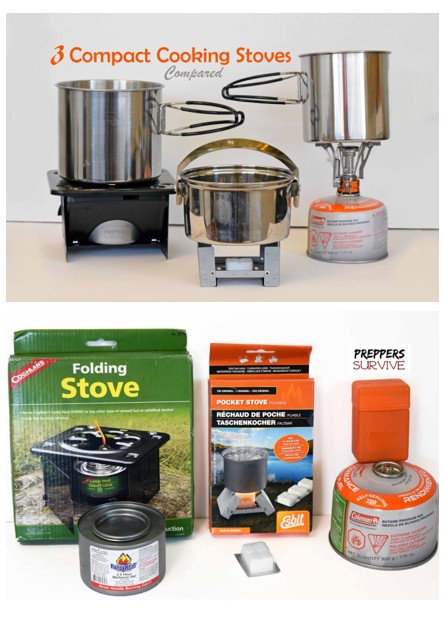
Did you know there are a variety of compact cooking stoves for under $16? These miniature stoves are just the right size for an emergency kit, bug out bag, or for a backpacking trip, but how well do they work? My husband and I are planning an overnight hiking trip and I want a good backpacking stove. My idea of a good backing stove is: minimal weight, boils water quickly, works in windy weather, easy to use, and cost-effective. Rather than buying a stove and hoping for the best 200 miles away from civilization, I’m testing each one to determine which one will come with us on our adventure. I have seen these over the years and wondered how effective these backpacking stoves are. Below you’ll find a comparison and pros and cons of each.
Backpacking Stoves Compared
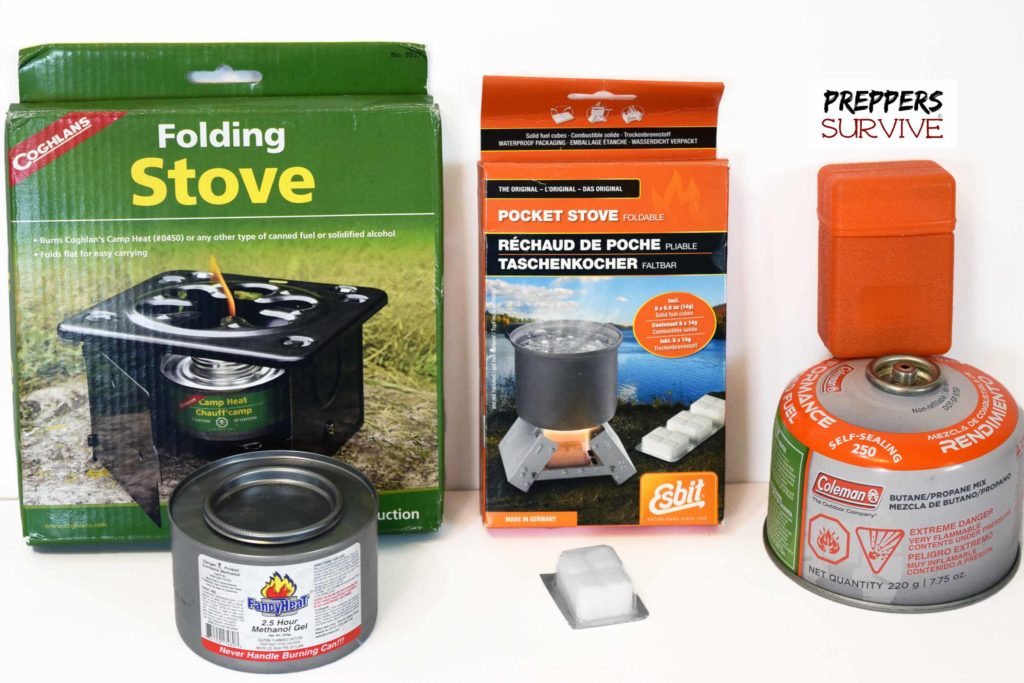
1. Coghlans Folding Stove Review
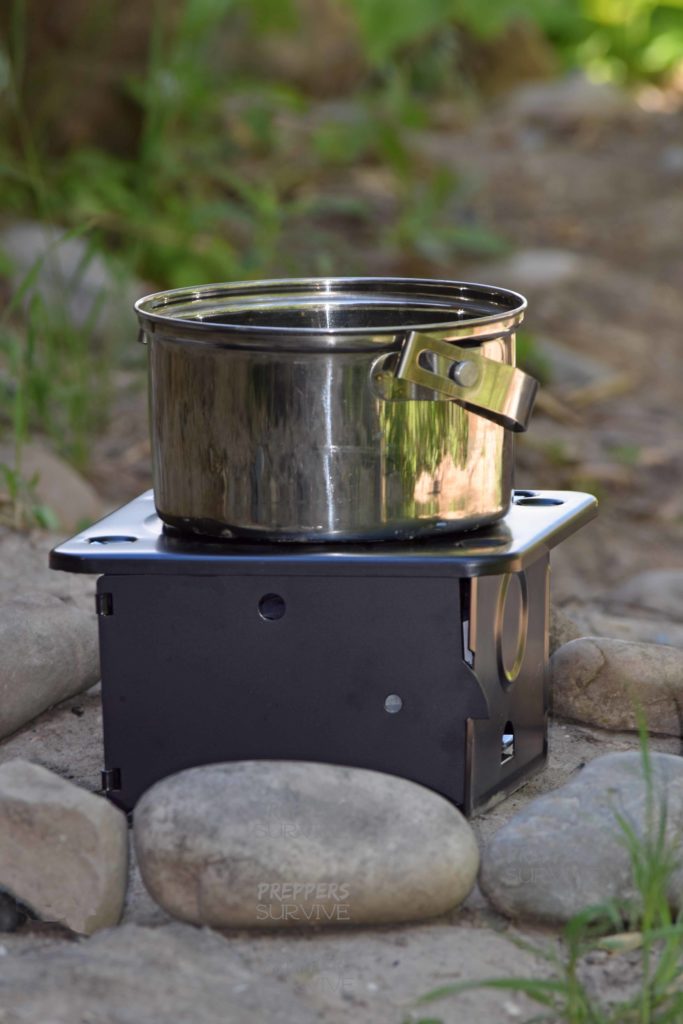
On the first appearance, I liked the sturdiness and usability of the Coghlans Folding Stove the best. It seems like it’s better for heating up food but not so great for cooking food. It was very slow to bring water to a boil and only produced small bubbles. It was the easiest one to lite and didn’t give me any troubles despite the wind. It’s meant to be used with canned fuel but fuel tablets can be used as well.
Price: $9 Stove + $7 Fuel Cans (2pk)
Fuel Type: Methanol Gel
Weight: 16.1 oz Stove + 18.5 Fuel Can = 24.6 oz
Cooking Surface: 6 3/4 inches x 6 3/4 inches
Boiling Time: 20 minutes (only small bubbles)
Pros: wide cooking surface, fuel was easy to lite, durable, no difficulties on a windy day.
Cons: almost 4 times heavier than the Esbit, took the longest to boil water, hard to tell when lit.
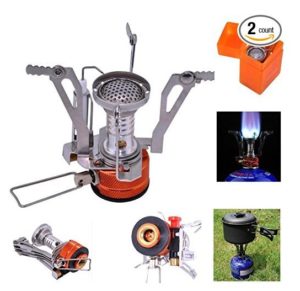
2. Sam Young Backpacking Burner Review
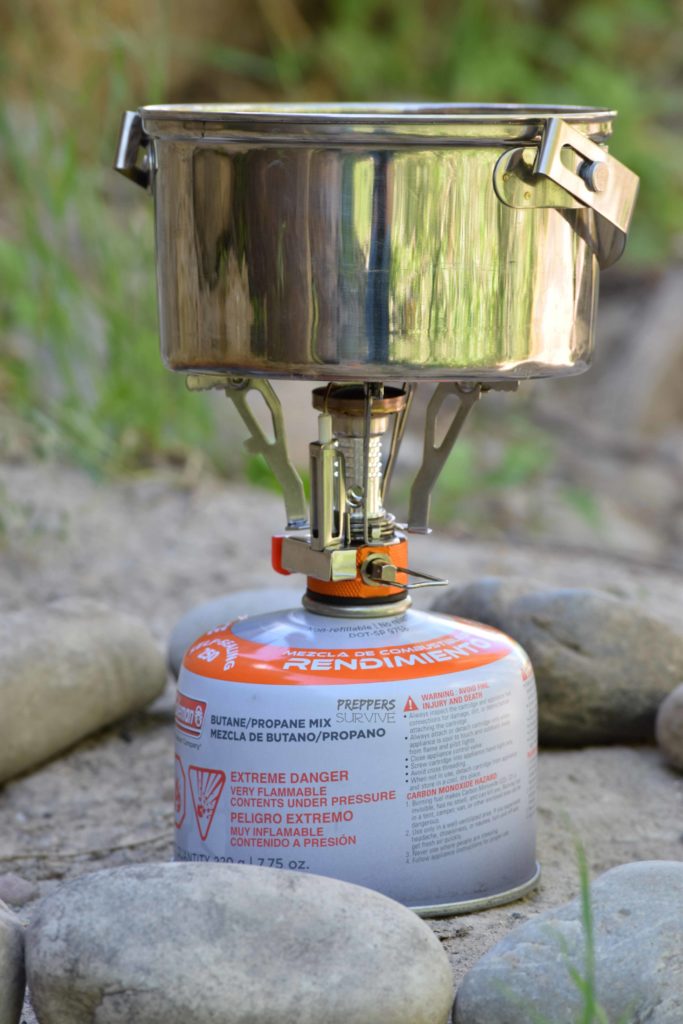
The Sam Young Backpacking Burner is great if you can get passed how rickety it seems. I wasn’t too impressed at first. I couldn’t get it to light (windy day), the prongs didn’t seem to work right, and the pot had a hard time staying centered on the burner (see picture below). Once it stayed lit, I was impressed to see how fast it brings water to a boil. Turning the simmer control on high kept the flame from going out. It’s not easy to tell how much fuel there is or how long it will last, but when I shake the can my best guess is that it’s still half full.
Price: $10 Stove + $5 Fuel Can
Fuel Type: Butane/Propane Mix
Weight: 3.8 Stove with Case + 13 Fuel = 16.8 oz
Cooking Surface: 3 inches x 3 inches
Boiling Time: 1 minute (on high)
Pros: adjustable heat valve, ignition spark, 1 minute to full boil
Cons: small cooking surface, loud, it’s height makes it easy to tip over, hard to keep it lit on a windy day.
3. Esbit Pocket Stove Review
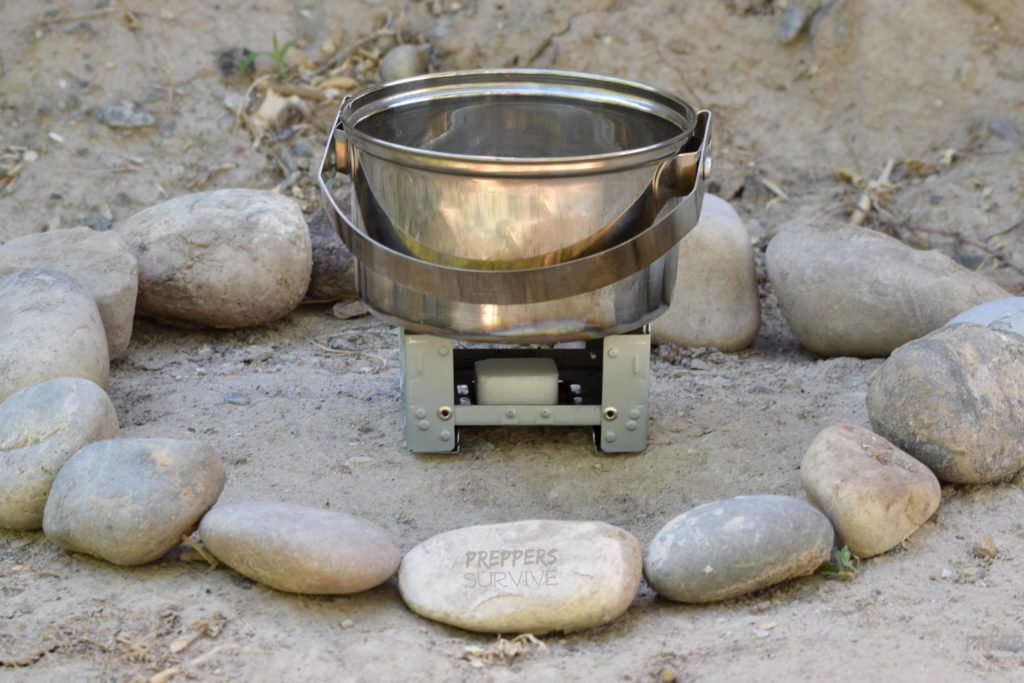
The weight of one’s backpack is a big issue on long hiking trips. The Esbit Pocket Stove is super lightweight and compact. I was impressed with the design and sturdiness of this little stove. I was not impressed with the fuel tablets. They were hard to lite and lasted about 8-12 minutes, so I needed two to get the water to a boil and all six tablets to cook a meal. The worst part is the tablet’s smell. As long as you keep the tablets sealed in your bag or kit and burn them completely off the stove then the smell shouldn’t be a problem. Since they were open as I was taking pictures and moving them around it left my backpack with a gross fishy smell.
Price: $11 Stove & Fuel
Fuel Type: Fuel Tablets
Weight: 3.2 Stove + 3.5 Fuel = 6.7 oz
Cooking Surface: 4 inches x 4 inches
Boiling Time: 7 mins (windy day using two tablets, 4 more tablets were needed to cook the meal completely).
Pros: it’s the most compact and lightweight stove+fuel I’ve come across
Cons: the tablets have a strong fishy odor (other tablets can be purchased that don’t have such a strong odor), takes multiple matches to light on a non-breezy day (very hard on a windy day), hard to extinguish if you need to cut cooking time short (best to let the fuel tablet burn out) and leaves residue on the pot.
If you don’t plan on using the stove too often, than any of these stoves would work fine, especially for an emergency kit. They are compact, inexpensive, and do a decent job as long as it’s not too windy. Having one of these affordable emergency backup stoves is better than nothing. As for a good backpacking or bugout stove, I like biomass burning stoves best. You can read why I prefer biomass stoves here.
Backpacking Cooking Tips:
- Practice using the stove before your adventure or emergency. Off-grid cooking takes some practice.
- A stirring spoon, pot holder, and swing out handles on cook pots can help eliminate getting burned while cooking.
- Consider meals that don’t need to be cooked, just need hot water added, or can be heated up in its original packaging.
Other articles you may be interested in:
If you found this article helpful, please share it on social media.





I bought my First SEVA 123 R for $16.00.. They are now near $100.00 today, They are great if you want to just Boil Water and not simmer. But they are not very stealthy they sound like a Blow Torch.. I tried Sterno’s and Alcohol, an various White gas Units an Esbits and the Military Gel Packets… I currently am using for the past 10 years and I carry a Snow Peak Titianum with Petizel Ignition but use matches more often than not to start it to save the ignition feature for when I might need it… Comes with a Wind Screen and is and has been very reliable…
Personally I would not use the stove that takes Sterno, as Sterno won’t get hot enough to boil water.
The Esbit stove works pretty good, I used one all the time in the military.
I have one of those little burners you put on a canister of gas, have not had a chance to use it yet.
I use a small burner similar to the Sam Young. It’s not the best but it gets the job done when weight and size matter.
http://thesurvivaljournal.com/biolite-campstove-review/
This is what I use and it’s badass!